
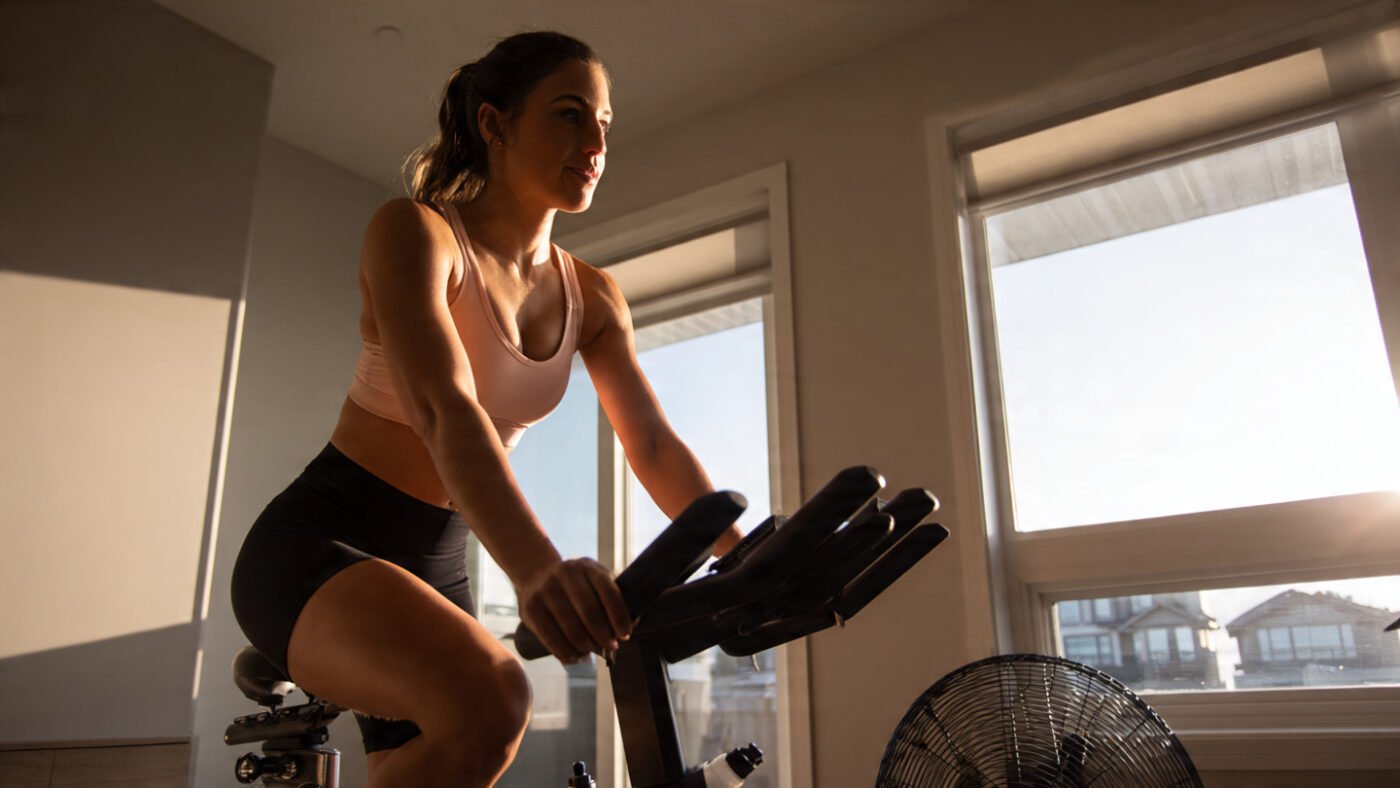
If you’ve been putting off indoor cycling for beginners because you don’t know where to start, you’re reading the right guide. Starting on a spin bike or indoor trainer feels confusing at first — the resistance knob, the saddle height, the cadence — but within two sessions, it all clicks.
This guide breaks everything down step by step: how to set up your bike, how to structure your first sessions, and how to avoid the mistakes that make most beginners quit in week three. You don’t need to be fit to start. You just need to start.
Indoor cycling exercise is a structured cardio workout on a stationary or smart bike. You control the resistance and pedaling speed to match your fitness level — and because you’re not on a real road, you can stop, adjust, or slow down at any time without consequence.
According to a systematic review published in PMC, indoor cycling consistently improves cardiovascular fitness, body composition, and blood pressure across all fitness levels — including complete beginners. It’s one of the few forms of cardio that delivers serious results without serious joint stress. No impact on your knees. No impact on your hips. Just pedaling at your own pace, on your own schedule.
Why Beginners Succeed with Indoor Cycling
You control every variable. Resistance, speed, duration — all adjustable at any moment.
No weather, no traffic, no commute. Your bike is ready when you are.
Low injury risk. The movement is smooth and repetitive, not jarring or unpredictable.
Visible progress happens fast. Most beginners notice improved breathing and endurance within two to three weeks of consistent riding.
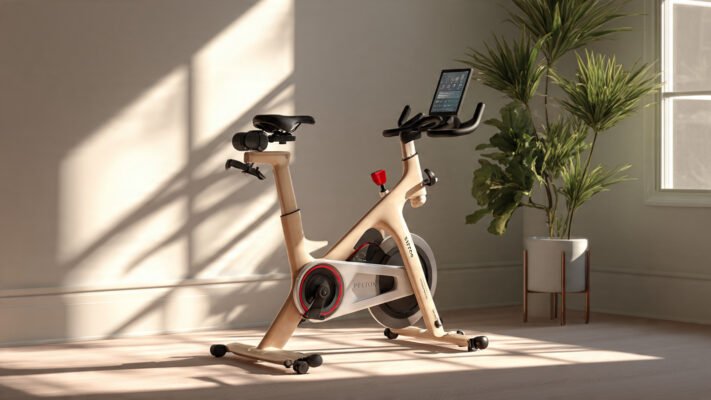
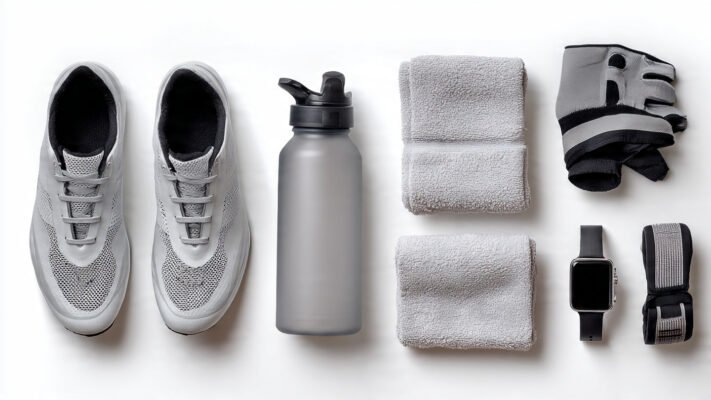
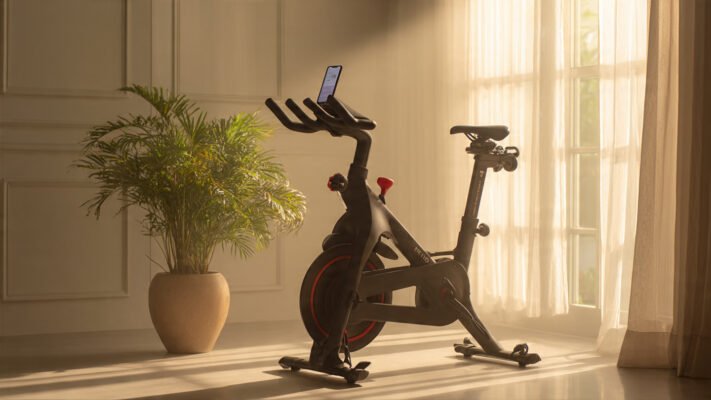
What Equipment Do You Need to Start?
You don’t need expensive equipment to get started. The best spin bike for home at beginner level sits between $300 and $550 — and it will do everything you need for at least the first year of training.
Here’s what a solid beginner indoor cycling setup looks like, according to ROUVY’s indoor cycling setup guide and CompleteTri’s setup recommendations:
That’s it. You don’t need cycling shoes, a power meter, or a subscription app on day one. A mat, a fan, and a good pair of padded shorts will transform your first three weeks of riding.
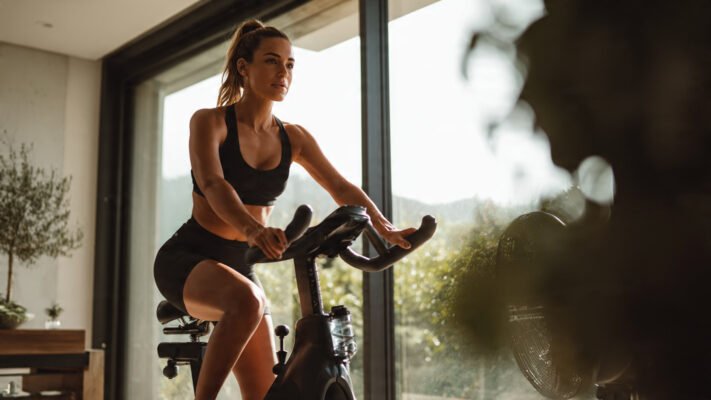
How Do You Set Up Your Bike Correctly? (Bike Fit for Beginners)
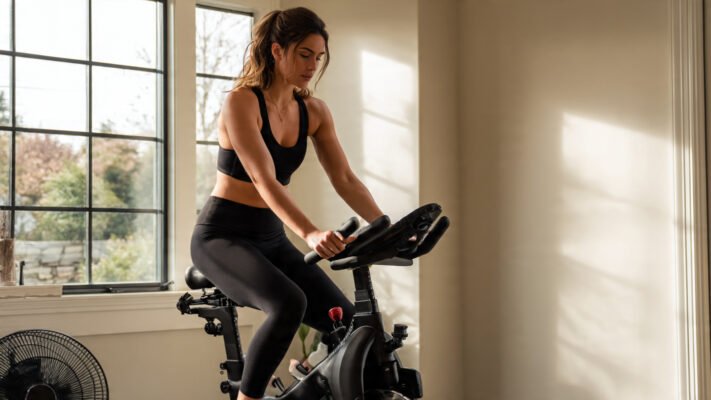
Poor bike fit is the number one reason beginners experience knee pain, back strain, and saddle soreness. Setting your bike up correctly takes less than five minutes — and it makes every ride better immediately.
Home Spin Bike Setup: 4 Steps
- Step 1 — Saddle height.
Sit on the saddle and place one heel on the lowest pedal. Your leg should be fully extended with no hip rocking. When you move to the ball of your foot on the pedal, you’ll have the correct 25–35 degree knee bend. This prevents knee strain on every stroke. - Step 2 — Saddle fore/aft position.
Place the pedals level (3 o’clock and 9 o’clock). Your front knee should sit directly over the pedal axle — not in front of it, not behind it. This aligns your pedal stroke and protects your joints. - Step 3 — Handlebar height.
As a beginner, keep the bars at saddle height or slightly above. This takes pressure off your lower back and lets your core engage naturally. Lowering the bars is something to do later — once your core strength has built up. - Step 4 — Reach.
When your hands are on the bars, your arms should be slightly bent — not locked out straight. If you’re stretching forward uncomfortably, the saddle is too far back.
Important Consideration: Check Fit After Your First Two Rides
Your body tells you a lot after your first sessions. Knee pain above the kneecap? Saddle is too low. Pain behind the knee? Saddle is too high. Lower back ache? Bars may be too low or reach is too far. Adjust early — don’t ride through discomfort and assume it will go away.
How Do Resistance and Cadence Work for Beginners?
Two words will come up in every beginner cycling guide: cadence and resistance. Understanding both early on will save you weeks of ineffective training.
Cadence is how fast you pedal — measured in RPM (revolutions per minute). As a beginner, aim for 80–90 RPM for most of your riding. This range is sustainable, aerobically effective, and easy to hold without bouncing in the saddle.
Resistance controls how hard each pedal stroke feels. Higher resistance = more effort per stroke = more muscular work. Lower resistance = faster spinning = more cardiovascular work.
The NYT’s beginner guide recommends dedicating “a couple of 20-minute sessions to experimenting with resistance levels, pedaling at different speeds, and practicing standing while cycling.” That’s good advice. Your first two sessions shouldn’t be about performance at all — they should be about understanding how the bike responds to you.
Common Beginner Cadence Mistakes to Avoid
Spinning with zero resistance — feels easy, but creates knee strain and delivers almost no training benefit. Always add enough resistance that the pedal stroke feels controlled and smooth.
Going too slow (under 70 RPM) with heavy resistance too soon — exhausts your legs before your cardiovascular system is warmed up. Build resistance gradually.
Ignoring cadence entirely — just pedaling “however feels right” leads to inconsistent training. Even a rough target of 80–90 RPM gives structure to every session.
What Does a Beginner Indoor Cycling Session Look Like?
Every session — from your first 15-minute ride to a full 30-minute indoor cycling workout — should follow the same three-phase session structure. This is the foundation of all indoor training, from beginner spin workouts to elite cycling programs.
The 3-Phase Session Structure
- Phase 1 — Warm-Up (5–8 minutes)
Start at very easy effort: 80–90 RPM, minimal resistance. In the first 3 minutes, your only goal is getting the blood moving. In the last 2 minutes, gradually increase resistance to a moderate level. Your heart rate should rise gently, not spike. - According to GCN’s 15-minute beginner cycling session, a proper warm-up for beginners takes 3 minutes of very easy pedaling before any intensity is introduced — and that structure applies at every level.
- Phase 2 — Main Block (10–30 minutes)
This is your actual workout. For beginners, the main block starts with simple steady-state riding — holding a consistent pace and resistance for the whole block. As you progress, you’ll introduce intervals: short harder efforts followed by easy recovery periods. - Phase 3 — Cooldown (5 minutes)
Reduce resistance to near-zero. Slow your cadence gradually over 3–4 minutes. Then stop, dismount, and stretch: quads, hamstrings, hip flexors, and calves. Skipping the cooldown is one of the most damaging habits a beginner can form — it raises soreness, slows recovery, and makes your next session harder than it needs to be.
Your First 4-Week Beginner Indoor Cycling Plan
Add no more than 10% volume per week
Never skip the warm-up or cooldown
Take at least one full rest day between harder sessions
Note how you feel after each session — soreness, energy level, and heart rate recovery all give useful feedback
Class vs Home: Which Is Better for a Beginner?
This question comes up constantly — and the honest answer is that it depends on how you get motivated.
Group cycling benefits are real. A live instructor, a room full of riders, and a structured class format remove every decision from you. You just show up and follow. For beginners who struggle with self-discipline or don’t yet know how to structure a session, a studio spin class is highly effective.
Home indoor cycling, on the other hand, offers zero commute, zero judgment, and total flexibility. You can pause, adjust, and restart without anyone noticing. For beginners with anxiety about group fitness settings — or those with irregular schedules — a home setup removes every barrier between you and the workout.
Many experienced riders recommend starting at home for the first four weeks to get confident on the bike, then joining a class or group app like Zwift or Peloton once the basics feel comfortable. That way, you’re not learning bike mechanics and class etiquette at the same time.
The Most Common Beginner Mistakes — And Exactly How to Fix Them
- Mistake #1: Riding with the seat too low.
This is the most common fit error — and the most damaging. A low saddle forces your knee to bend more than 35 degrees at the bottom stroke, loading the joint repeatedly. Raise the saddle until you have that slight bend. If your hips are rocking side to side, lower it slightly. - Mistake #2: Bouncing in the saddle.
Bouncing means your cadence is outrunning your resistance. Add resistance until the pedal stroke smooths out. It should feel controlled, not chaotic. - Mistake #3: Hunching the shoulders and gripping the bars tight.
Tension in your upper body wastes energy and causes neck and shoulder pain. Keep your hands relaxed — grip the bars the same way you’d hold a paper cup without crushing it. Your core does the stabilizing work, not your arms. - Mistake #4: Training too hard in week one.
This is the beginner trap. The first week should feel almost too easy. Your cardiovascular system adapts faster than your tendons, ligaments, and connective tissue — and those structures need time to adjust to the new movement pattern. Go easy first. Build intensity in week three. - Mistake #5: Skipping rest days.
Rest is not a sign of weakness. It’s when adaptation happens. Two to three sessions per week with proper rest between them builds more fitness than five hard sessions back to back. - Mistake #6: Not using a fan.
This sounds minor — but overheating is a genuine performance and safety issue. Indoor riding produces significantly more sweat than outdoor cycling because there’s no natural air movement cooling your skin. A strong fan pointed directly at your face and chest keeps your heart rate lower, your sessions longer, and your enjoyment much higher.
Troubleshooting: When Something Feels Wrong
Even with a good setup, problems come up. Here’s how to handle the most common ones:
Knee pain: Adjust saddle height — usually too low. If pain persists after correcting fit, take two days off and return at lower intensity.
Lower back pain: Raise the handlebars. A too-low position overloads the lumbar spine for riders without a strong cycling-specific core.
Saddle soreness: Normal in the first one to two weeks. Padded cycling shorts fix most of it. Stand up briefly every 10 minutes in your first sessions to relieve pressure.
Bike making noise: Check all bolts for tightness. Lubricate the belt or chain. Most noise fix issues are solved in under five minutes with a multi-tool and a drop of chain lube.
App connectivity issues: Restart your Bluetooth, close background apps, and re-pair the device. Most connectivity issues with cycling apps resolve with a fresh pairing.
Which Indoor Cycling Option Is Right for You as a Beginner?
Not all beginners are the same. Here’s a quick decision guide:
🟢 If you’ve never exercised before → Start with a 15-minute easy spin, three times a week. Build to 25 minutes by week three.
🟢 If you’re returning after injury → Follow a low-resistance, moderate-cadence plan. Keep sessions under 25 minutes for the first two weeks and monitor any pain signals carefully.
🟢 If you’re a senior or older adult → Indoor cycling is one of the safest options available. Start at very light resistance, keep sessions between 15 and 25 minutes, and prioritize comfort adjustments to the bike above everything else.
🟢 If you’re busy and time is short → A focused 20-minute spin workout at home done three times per week is genuinely enough to build cardiovascular fitness. Consistency beats duration every time.
🟢 If you want weight loss as your goal → Combine two steady endurance sessions with one interval training session per week. Add a small calorie deficit and track weekly — not daily — progress.
🟢 If you’re a road cyclist starting indoor training → Use a smart trainer with your own bike for the best transfer training results. Your outdoor fit, muscle patterns, and power numbers all carry over directly.
Technique for Success: 6 Habits That Separate Consistent Beginners from Quitters
In expert coaching and testing indoor cycling setups across all fitness levels, these six habits are what separate riders who stick with it from those who don’t.
- 1. Prepare everything the night before.
As TrainerRoad’s beginner coaching team puts it: “Set up things in advance for ultra-convenient workouts. Prepare your bottles and kit the night before, so all you have to do is get dressed and hop on the trainer.” Removing friction is everything for beginners. - 2. Fix bike fit before your second session — not your fifth.
You have a 48-hour window after your first ride to notice what felt uncomfortable and adjust it. Use it. Most beginners wait until they’re in real pain before making changes. - 3. Use a structured plan — even a simple one.
Riding without a plan means riding without progress. The 4-week plan above is enough. Following any structure consistently outperforms improvised sessions at every level. - 4. Ride with something to watch or listen to.
Motivation during solo home sessions is a real challenge. Music, a podcast, a cycling app like Rouvy or Zwift, or even a Netflix show makes a 20-minute ride feel like 10 minutes. - 5. Track how you feel — not just calories burned.
Your perceived effort, energy level after the ride, and sleep quality are better indicators of progress than any calorie counter on an LCD screen. Write three words about how each session felt. After four weeks, you’ll see real improvement. - 6. Don’t compare your week one to someone else’s week twenty.
Indoor cycling has a steep-feeling learning curve in the first two sessions and then becomes surprisingly natural. The discomfort of the first week is temporary. The fitness you build is not.
Final Thoughts
Indoor cycling for beginners is one of the most accessible, effective, and beginner-friendly fitness methods available in 2026. The barrier to entry is low. The equipment is affordable. The results — improved cardiovascular fitness, fat burn, lower body strength, and better sleep — come quickly when you train consistently and with a clear structure.
Set your bike up correctly on day one. Follow the warm-up, main block, and cooldown structure every session. Build volume gradually over four weeks. And get a good fan — seriously, the fan matters more than you think.
The hardest part is the first session. After that, it gets better every ride.
Your next steps:
✅ Set your saddle height before your first ride
✅ Start with three 20-minute sessions in week one
✅ Follow the 4-week plan above
✅ Explore the full cluster: [Best Indoor Cycling Bikes] · [Home Setup Guide] · [Cadence & Resistance] · [30-Minute Workouts] · [Mistakes to Avoid] · [Weight Loss Guide]
(FAQ)
Q: How long should a beginner indoor cycling session be?
Start with 15 to 20 minutes for the first two sessions. By week two, move to 25 minutes. By week four, aim for 30 minutes. Duration matters less than consistency — three 20-minute sessions per week beats one 60-minute session.
Q: How often should a beginner cycle indoors?
Three sessions per week is the ideal starting frequency. This allows 48 hours of recovery between sessions — enough time for your muscles and joints to adapt. TrainerRoad recommends a low-volume three-session-per-week base for all beginner training plans.
Q: What should I wear for indoor cycling as a beginner?
Padded cycling shorts are the single most important item. They eliminate saddle soreness that otherwise makes riding unpleasant in the first two weeks. Beyond that, any breathable workout clothes work fine. Cycling shoes improve efficiency but are not needed on day one.
Q: Is indoor cycling good for weight loss as a beginner?
Yes — but only with consistency. A 30-minute moderate session burns 300–500 calories. Combined with a slight calorie deficit, three sessions per week produces steady fat burn results within four to six weeks.
Q: Does indoor cycling build leg muscle?
Yes. High-resistance, low-cadence sessions build real muscular strength in the glutes, hamstrings, and quadriceps. Beginners will notice leg definition improvements within six to eight weeks of consistent riding with varied resistance.
Q: Is indoor cycling safe for seniors and older adults?
Yes — it’s one of the most recommended low-impact cardio options for older adults. There’s no impact stress on joints, the intensity is fully adjustable, and sessions can be paused at any time. Always consult a doctor before starting if you manage any cardiovascular condition.
Q: Do I need a subscription app to use a spin bike at home?
No. Most spin bikes — including the Pooboo and Sunny Health — work without any app or subscription. You can ride to music, follow free YouTube workouts, or use the 4-week plan in this article. Apps like Zwift, Rouvy, and the Peloton App add value but are entirely optional.